
XBH 3.2m UV Hybrid Printer with KONICA9888H: Setting Up a High-Volume Banner Line
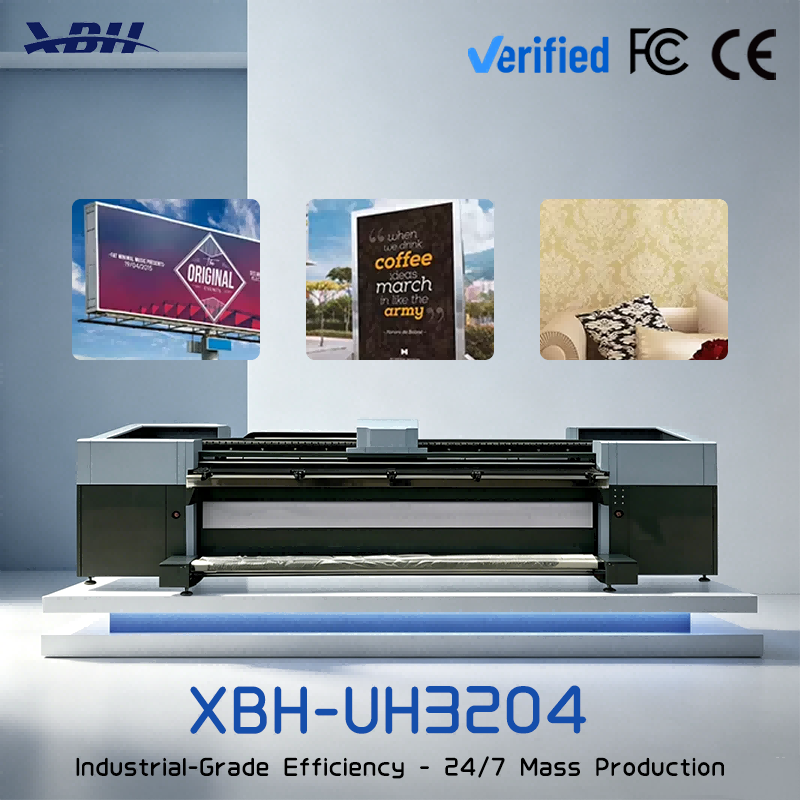
A sign shop outside Rotterdam booked 4,000 square metres of mesh banner eleven days before its machine cleared customs. The crate opened on a Friday; the first sellable roll came off the following Wednesday, and the deadline held. That five-day gap is the point. A 3.2 m UV hybrid only earns its floor space when the ramp-up is planned rather than improvised.
What the Hybrid Is For
The XBH 3.2m UV Hybrid runs roll media and thin rigid panels on one chassis, so banner work and semi-rigid display boards share a single production cell. KONICA9888H heads are built for sustained ink laydown rather than occasional jobs, which is what makes a long shift realistic. At 3.2 m wide, a 3 m finished banner still leaves trim allowance on both edges.
Hybrid is not universal. Thick foam board, heavy glass and true cylinders belong on a machine with a different bed design, and settling that before delivery removes the most common first-month complaint.
Before the Crate Arrives
Three measurements decide installation day: door width, floor flatness and available power. A 3.2 m chassis will not pass a standard personnel door, so walk the access route with a tape measure first. The machine wants a level, vibration-free slab, because a mezzanine shows up later as banding across long runs.
Give the heater bank a dedicated circuit, hold room temperature steady and keep dust down. A surface this wide collects airborne fibre faster than any operator expects, and voltage dips from a shared feed appear as density shifts halfway through a roll.
The Commissioning Ladder
Run the first week in this order and log every setting beside the control panel.
Mesh banner 270 g - 4 passes, high lamp power, watch edge curl
Coated banner 510 g - 3 passes, check take-up tension
Light box fabric - 6 passes, verify density on a light table
Self-adhesive vinyl - 4 passes, 24-hour adhesion test on aluminium
Wallpaper - 5 passes, low ink limit to stop cockling
Car wrap film - 4 passes, stretch test after full cure
Start with the cheapest, most forgiving media and move to film only after feed calibration is stable. Profiles drift with temperature and ink batch, and a notebook on the machine catches what memory does not.
Tension and the Seam Test
Long runs fail at the take-up, not at the heads. Match the core diameter to the media and let the tension arm hold a light pull. Pull too hard and the banner stretches, the image lengthens, and panel two will not meet panel one at the seam.
Run a seam test in week one: print the same one-metre section twice, butt the panels together on the floor and measure the drift. Correct feed calibration in steps of 0.2 percent. That test prevents more reprints than any profile change.
Cure Checks, Then the Schedule
UV ink cures rather than dries, and a print that feels dry can still be under-cured. Do a thumb twist on every new substrate and a tape pull on the first metre of each shift, because under-cured ink passes the fingernail test and then fails on stretch or lamination at the customer's site.
At full width, one pass covers a complete banner drop, so the constraint moves downstream to eyeleting, hemming, welding and packing. A printer that outruns the finishing table just builds a queue of wet rolls. Schedule around the welder, not the print head.
The machine is listed between 18,300 and 18,800 USD depending on configuration, a range that suits a shop with banner orders already on the book rather than one hoping to find them.
If you are matching a 3.2 m hybrid to a specific order book, send the media mix and monthly square metres through https://www.xbh-printer.com/contact and the team can confirm the fit. Installation write-ups for other production machines sit at https://www.xbh-printer.com/news.