
Installing an XP600 Printhead: Alignment, Ink Priming and First Print Checks
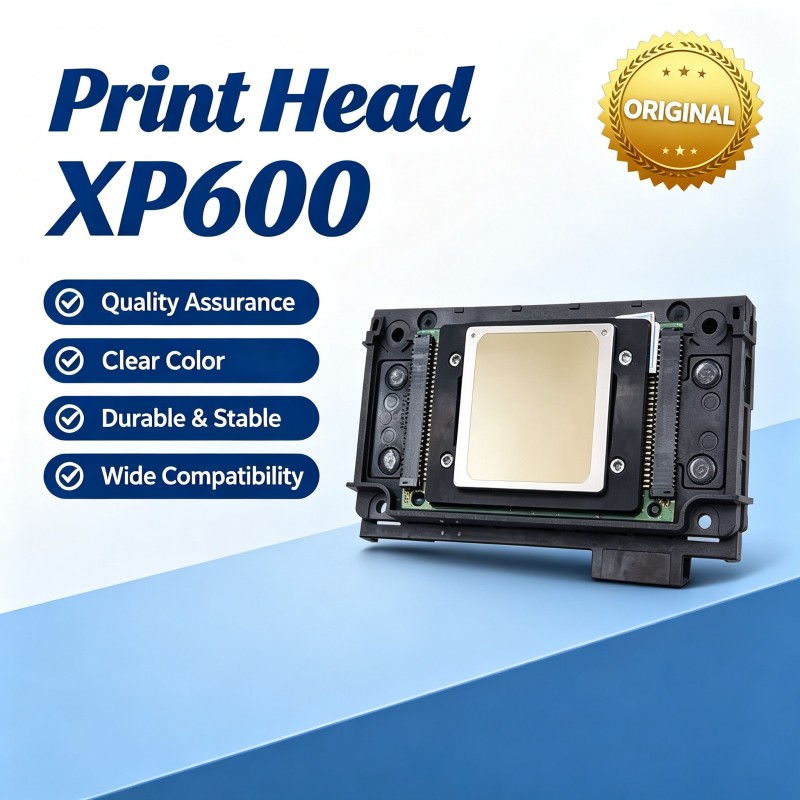
The head was not the fault. It had been changed on a Friday, the machine ran all weekend, and by Monday two colour rows were missing from every nozzle check. The invoice named a printhead; the real cause was a ribbon cable seated at an angle and a damper holding half a bubble of air.
Installing an XP600 printhead is not difficult, but it is unforgiving of sequence. Alignment, priming and the first checks each have one correct order, and skipping a step usually shows up as a fault blamed on the part.
Confirm the Old Head Is Actually Dead
Before removing anything, print a nozzle check and a test pattern, and photograph both. Check the capping station for dried ink, the wiper for a torn edge, and the dampers for air. A head that loses one colour after sitting idle is often a sealing problem, and a new head will fail the same way within a week.
Remove and Seat the New Head
Power down, unplug, and wait several minutes for the board to discharge before touching the carriage.
• Power off and unplug - wait five minutes
• Release the carriage lock, move it to service position
• Lift ribbon connectors straight up, never sideways
• Wipe the carriage plate; no dried ink under the new head
• Seat the head squarely, tighten in a cross pattern
• Reconnect ribbons until both latches click
• Fit dampers and check the O-rings sit flat
Never touch the nozzle plate with a bare finger or a dry cloth. Skin oil and lint cause drop-out that mimics electrical failure.
Priming the Ink Path
Fill the dampers gently with a syringe at the ink inlet, then draw ink through at the waste line until it runs without bubbles. Pull slowly; a hard pull aerates the ink and creates foam that takes hours to clear. Let the machine sit for a few minutes, top up, and repeat once if a line still shows a gap.
Do not prime with cleaning solution left in the path. Flush it out first, or the first print will be thin and slow to cure.
The First Nozzle Check
A clean check is a full block of steps on every colour: no missing rows, no deflections, no misting at the edges. Read the pattern instead of glancing at it.
• Missing rows on one colour - air in the damper, re-prime
• Half a block missing - ribbon or head connector
• Deflected lines - clean the plate, recheck after a purge
• Misting around the block - gap or wiper issue
• Even pattern across all colours - ready to print
The First Real Print
Run a small job on the substrate you actually sell, not on paper. Check density, dot placement and edge sharpness at the intended viewing distance, then leave it overnight. A head that prints perfectly in the first hour and drops a colour the next morning is telling you about sealing, not about the head.
Log the installation date, the head serial and a photograph of the first nozzle check. When a fault appears months later, that record is what separates a warranty conversation from a guess.
If a replacement head has already been ordered and the machine is still down, our team can review photographs of the nozzle check and the carriage before the next part ships: https://www.xbh-printer.com/contact. Related maintenance write-ups are listed at https://www.xbh-printer.com/news.