
Automatic Mini Heat Press: Dialing In Transfers on Shirts, Hats and Shoes
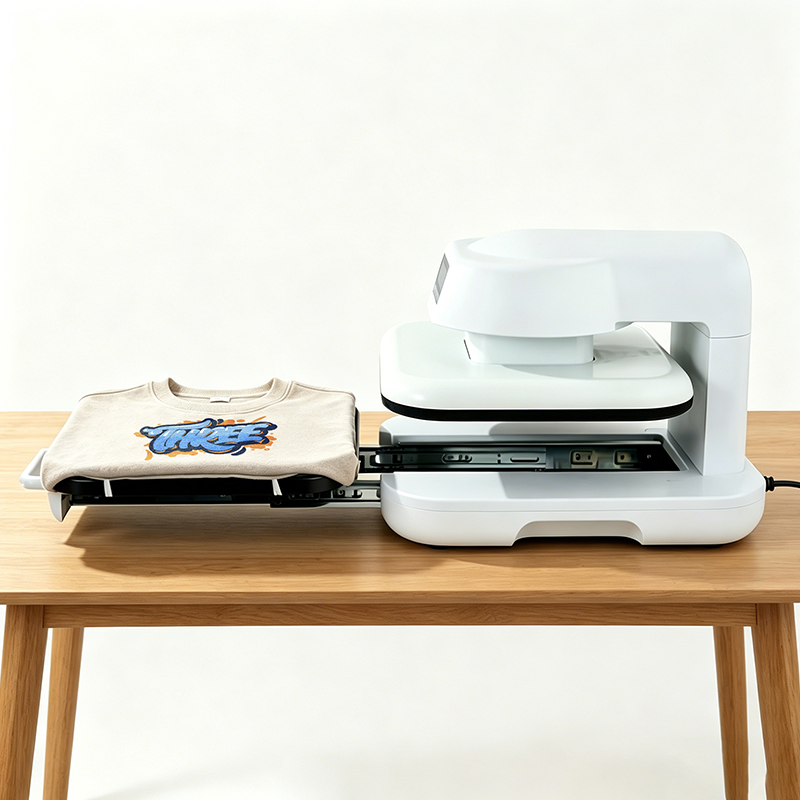
The reject pile is where most people first meet this tool. Fifteen caps pressed by hand with a household iron, and eight of them carry a bright flat spot on the crown where the plate bit in and crushed the fabric. A mini press does not print any better than the printer that produced the transfer. It removes the variable that ruined those eight caps.
What a Household Iron Cannot Control
An iron gives you a temperature you guess at, a pressure you supply with your arm, and a soleplate smaller than the design. On a flat cotton tee that is survivable for a while. On a cap crown or the side of a shoe it is not, because the surface curves away exactly where you need the pressure to be.
What Automatic Changes on a Press This Small
On a press of this size, automatic usually means the head closes on a timer and holds a set pressure until it releases. That one change matters more than plate size. You set the temperature, you set the dwell, you close the handle, and the machine finishes the cycle without you leaning on it. Consistency stops depending on how tired you are at four in the afternoon, which is when most hand-pressed rejects are made.
Units in this class generally sit between 51 and 86 USD, which is why they end up on market stalls and in home studios rather than in factories.
Starting Points by Item
Press settings are a starting point, not a law. Run one scrap of each material before you commit a customer's garment.
• Cotton tee, DTF transfer - 160 C, 15 s, medium pressure
• Polyester tee - 145 C, 12 s, light pressure
• Cotton cap, front panel - 150 C, 12 s, firm, curved pad fitted
• Cap side panel - 145 C, 10 s, firm, mind the seam
• Canvas sneaker side - 140 C, 15 s, firm, shoe pillow inside
• Synthetic upper - 135 C, 12 s, light, test a hidden area first
• HTV on cotton - 155 C, 12 s, warm peel
Hats Need the Pad, Not More Pressure
The instinct when a cap transfer lifts is to press harder. That flattens the crown and leaves a shine that no amount of re-pressing removes. Fit the curved pad, drop the temperature slightly, and press twice for shorter dwells instead of once for longer. The second press reaches the area the first could not.
Shoes Are the Honest Test
A shoe is never flat and rarely heat-stable. Put a pillow or a rolled towel inside so the surface you press against is solid, start low, and let the adhesive cool before you pull the backing. If the upper is synthetic, test the tongue or an inside edge first, because some materials mark at temperatures a cotton shirt shrugs off entirely.
Keeping Results Repeatable
Write your settings on a card taped beside the press: item, temperature, time, pressure. When the same job returns six weeks later you will not have to remember anything. Replace the pad once it stops recovering its shape, and wipe the plate between colours so residue does not transfer itself into the next order.
If you are unsure which plate and pad combination suits the items you actually sell, describe them at https://www.xbh-printer.com/contact and we will match the setup to the material. More bench notes are at https://www.xbh-printer.com/news.